Starting with GitHub Pages
You want to build a site using github pages. Then, the following text is going to help you.
Step 1
Create an account at github.com (or) just sign in with your credentials if you already have one.

Congo! Take a deep breathe. You are now officially part of the world’s largest source code host.
Source code: a text listing of commands to be compiled or assembled into an executable computer program.
Step 2
Now we want to create a new repository. You can do it in two ways.
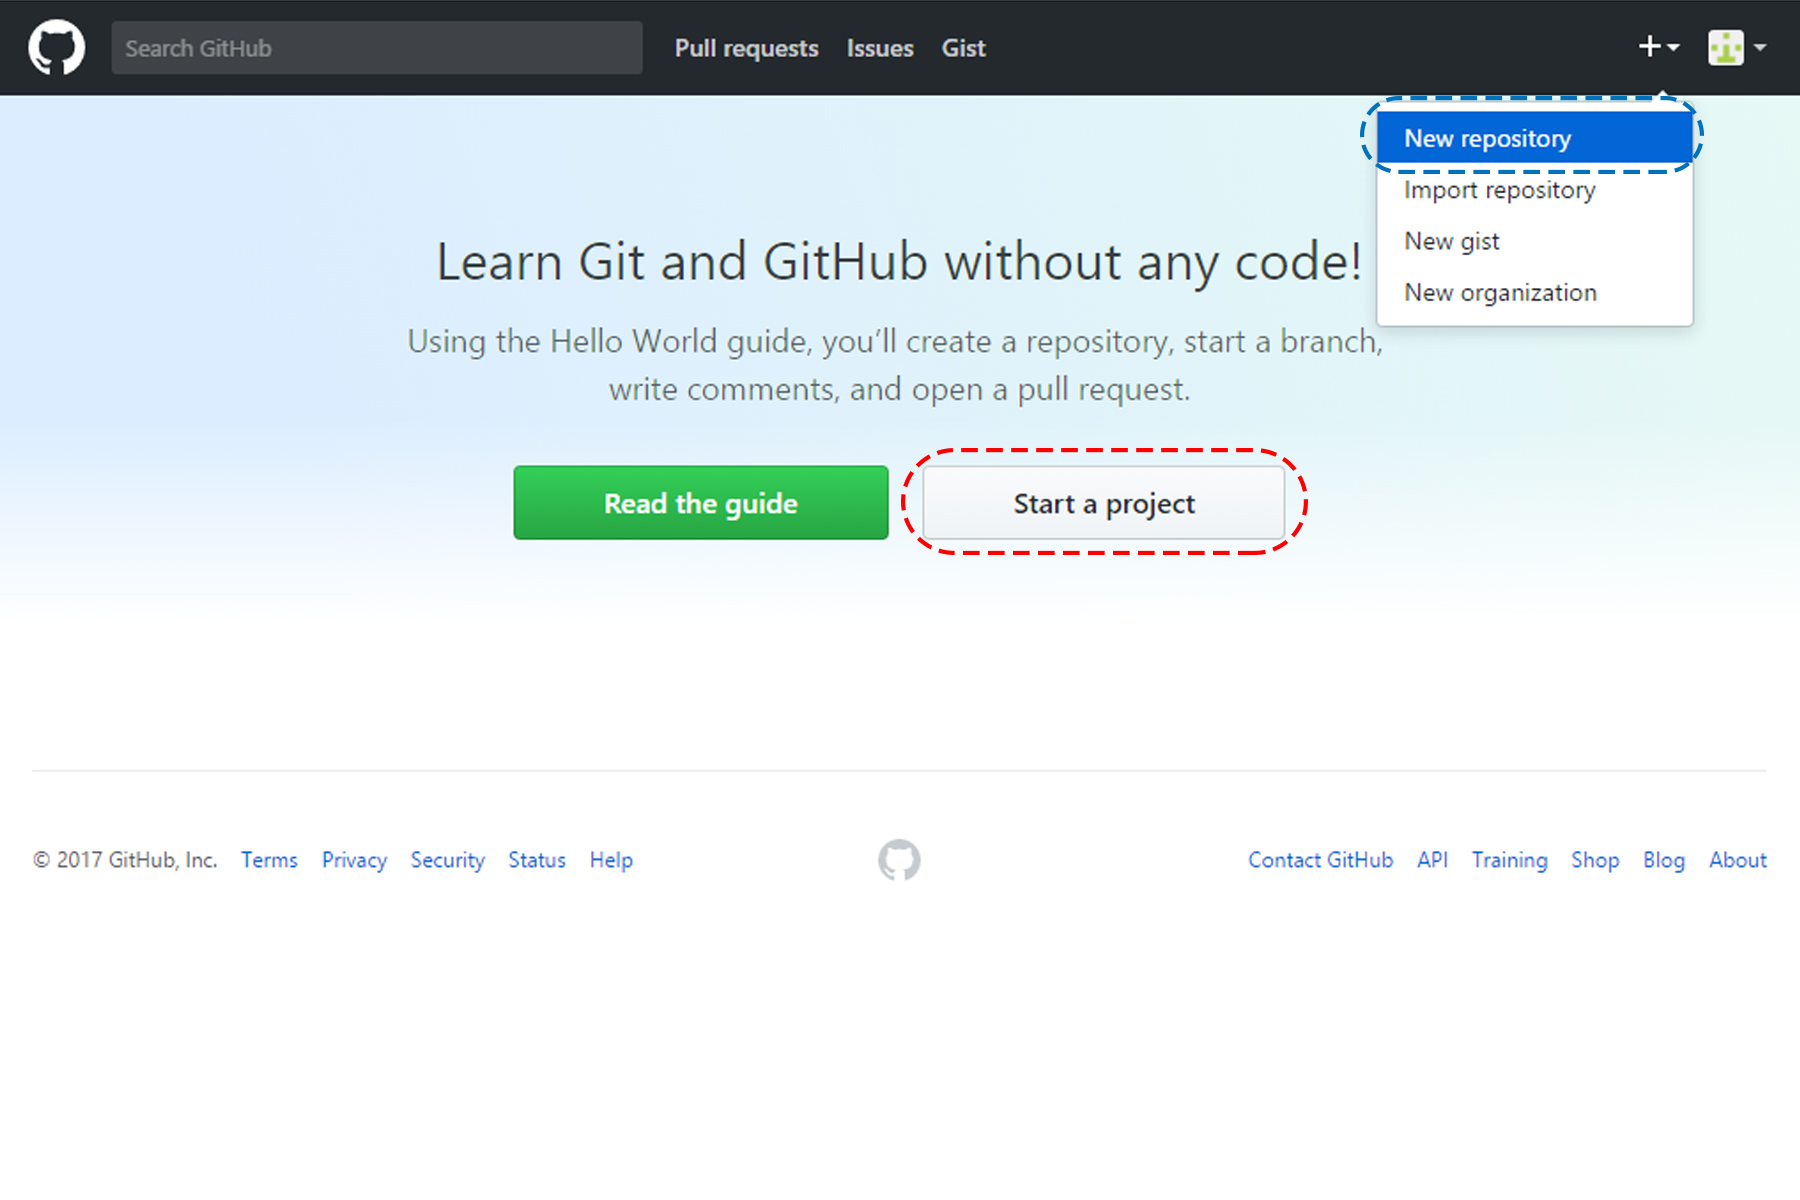
Blue way - Top right side, click the small plus button. Then select the first option - “New repository”.
Red way - Click “Start a project” button which is highlighted in red.
Step 3
This is the most important step. So, kindly pay some attention.
Your repository name should be same as your username followed with ‘.github.io’. That is, if your username is ‘superman’ your repository name should be ‘superman.github.io’.
My username is ‘gatestuts’ hence I have entered my repository name as ‘gatestuts.github.io’.
This is how GitHub finds out that you want to use its GitHub-Pages feature.
Describe about your repo in the description box. Set it public or private.
Setting a repo ‘Public’ doesn’t mean that anyone can change your code. It just means that your code will be visible to the public. If you don’t want people to sneak into your code pay $7 and make your repo private (if you are a student you can get it for free by signing up for the student developer pack).
Go ahead, click ‘Create repository’ button highlighted in green.

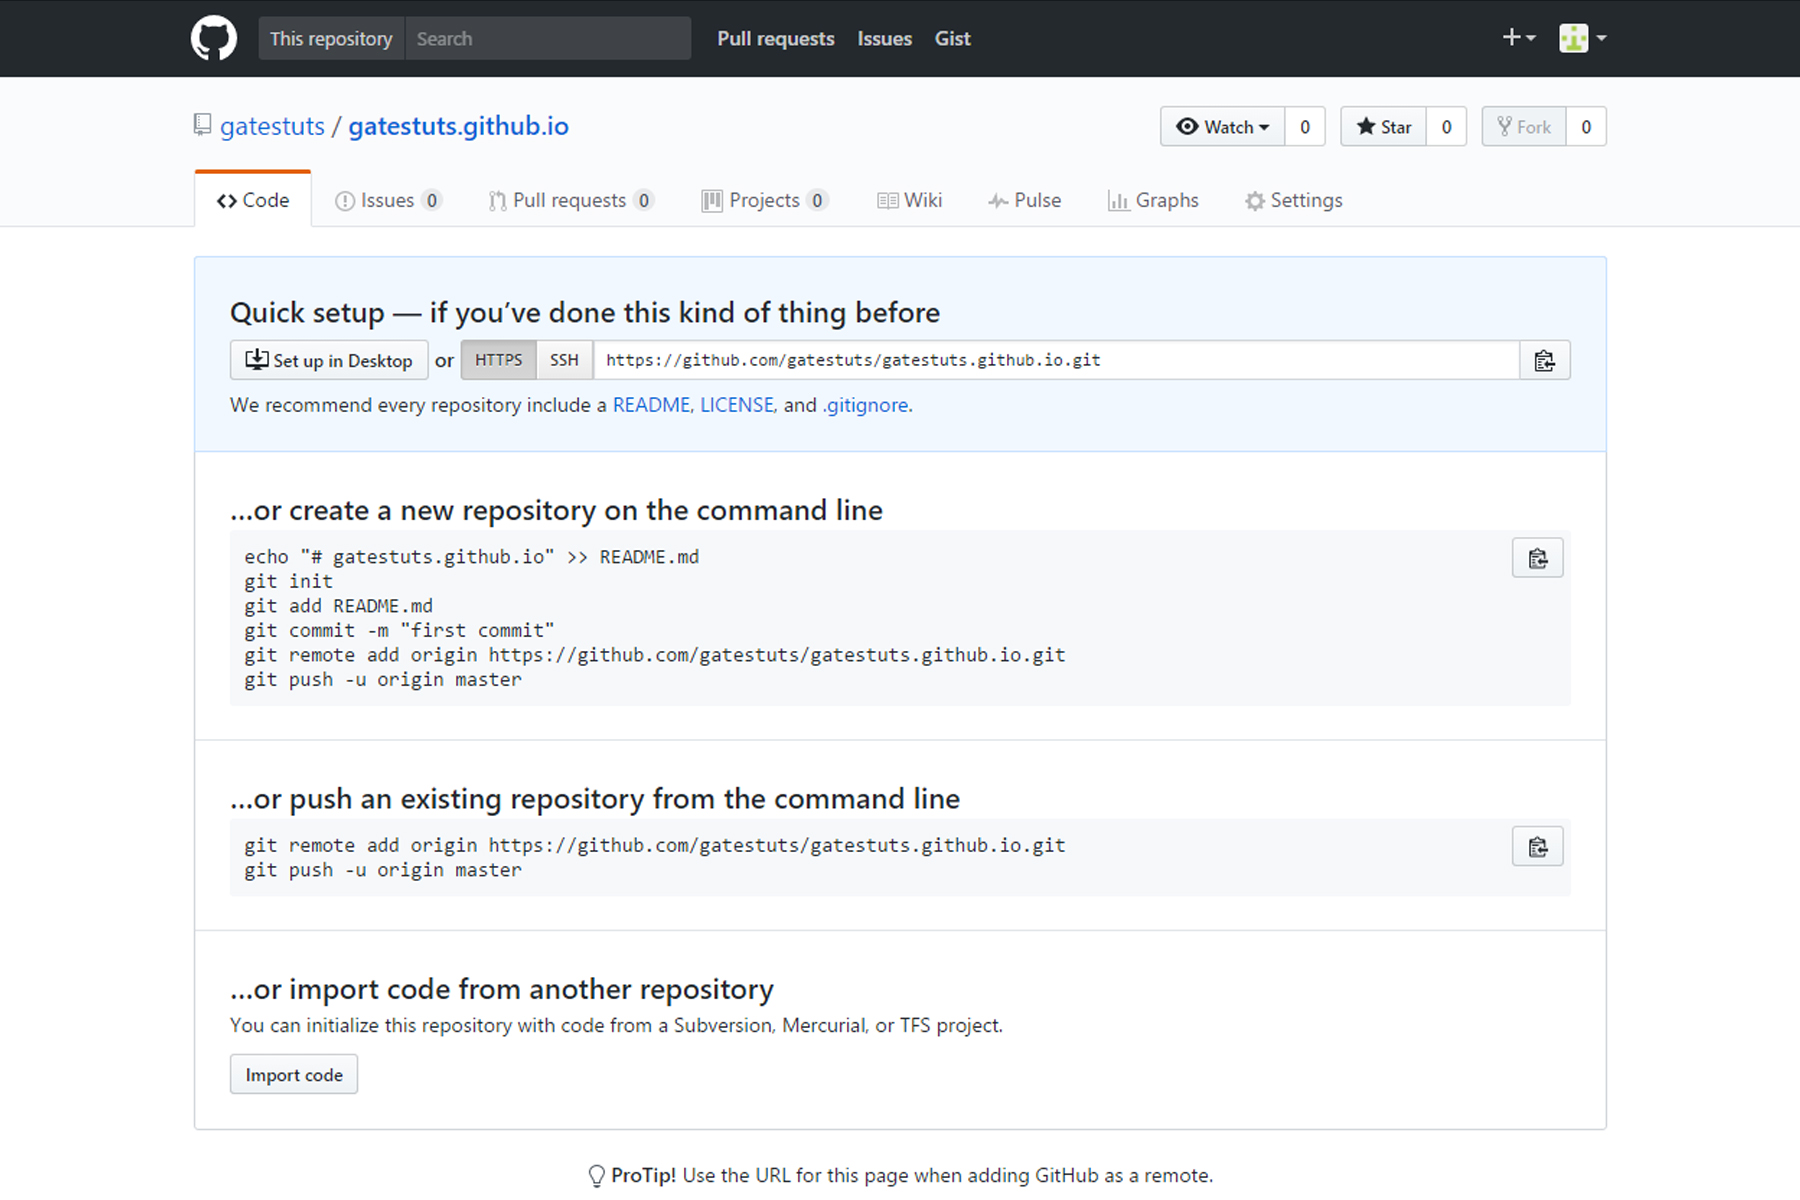
You will get the below screen - It means that you have successfully created your repository.
Step 4
- Create a new directory (folder).
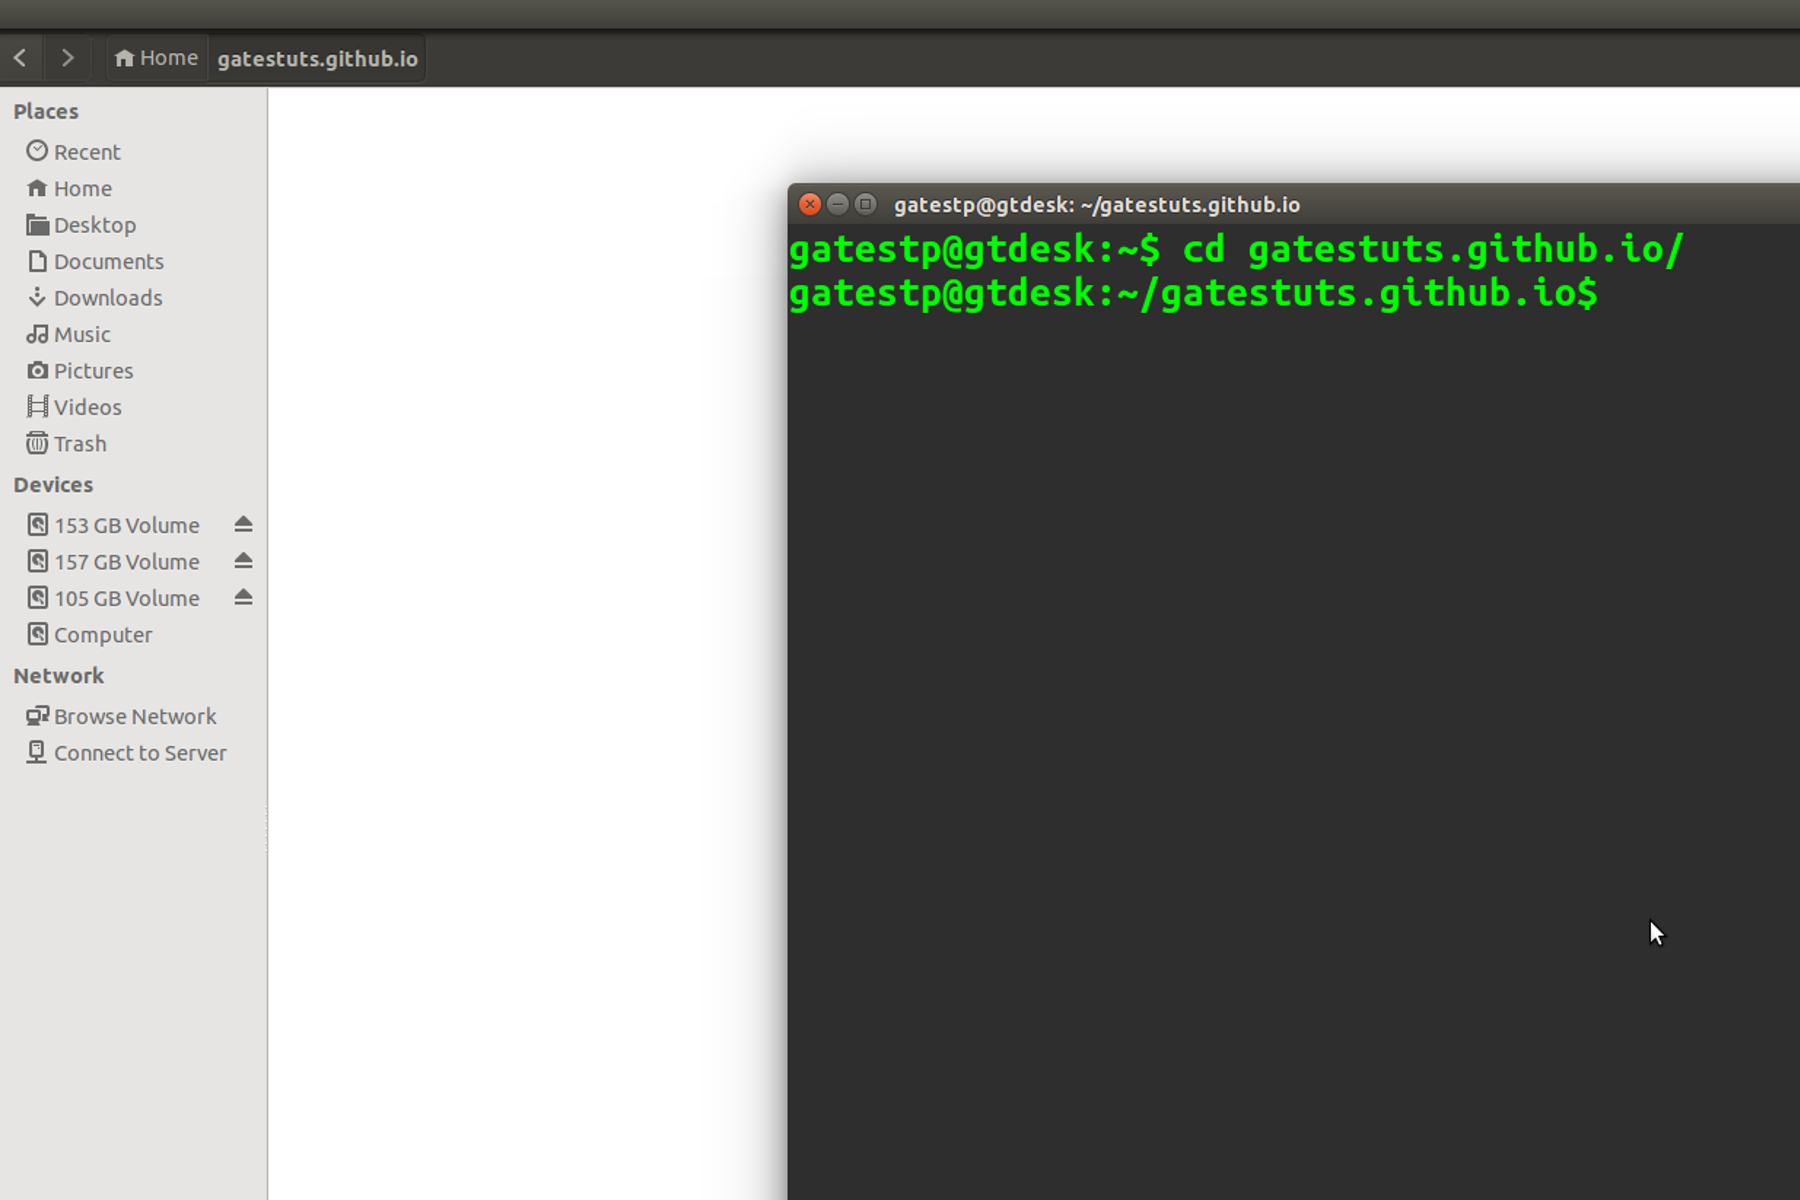
- Open your terminal and navigate to your directory.
I have created a folder with name same as my repo’s name and have navigated to that directory from my terminal.
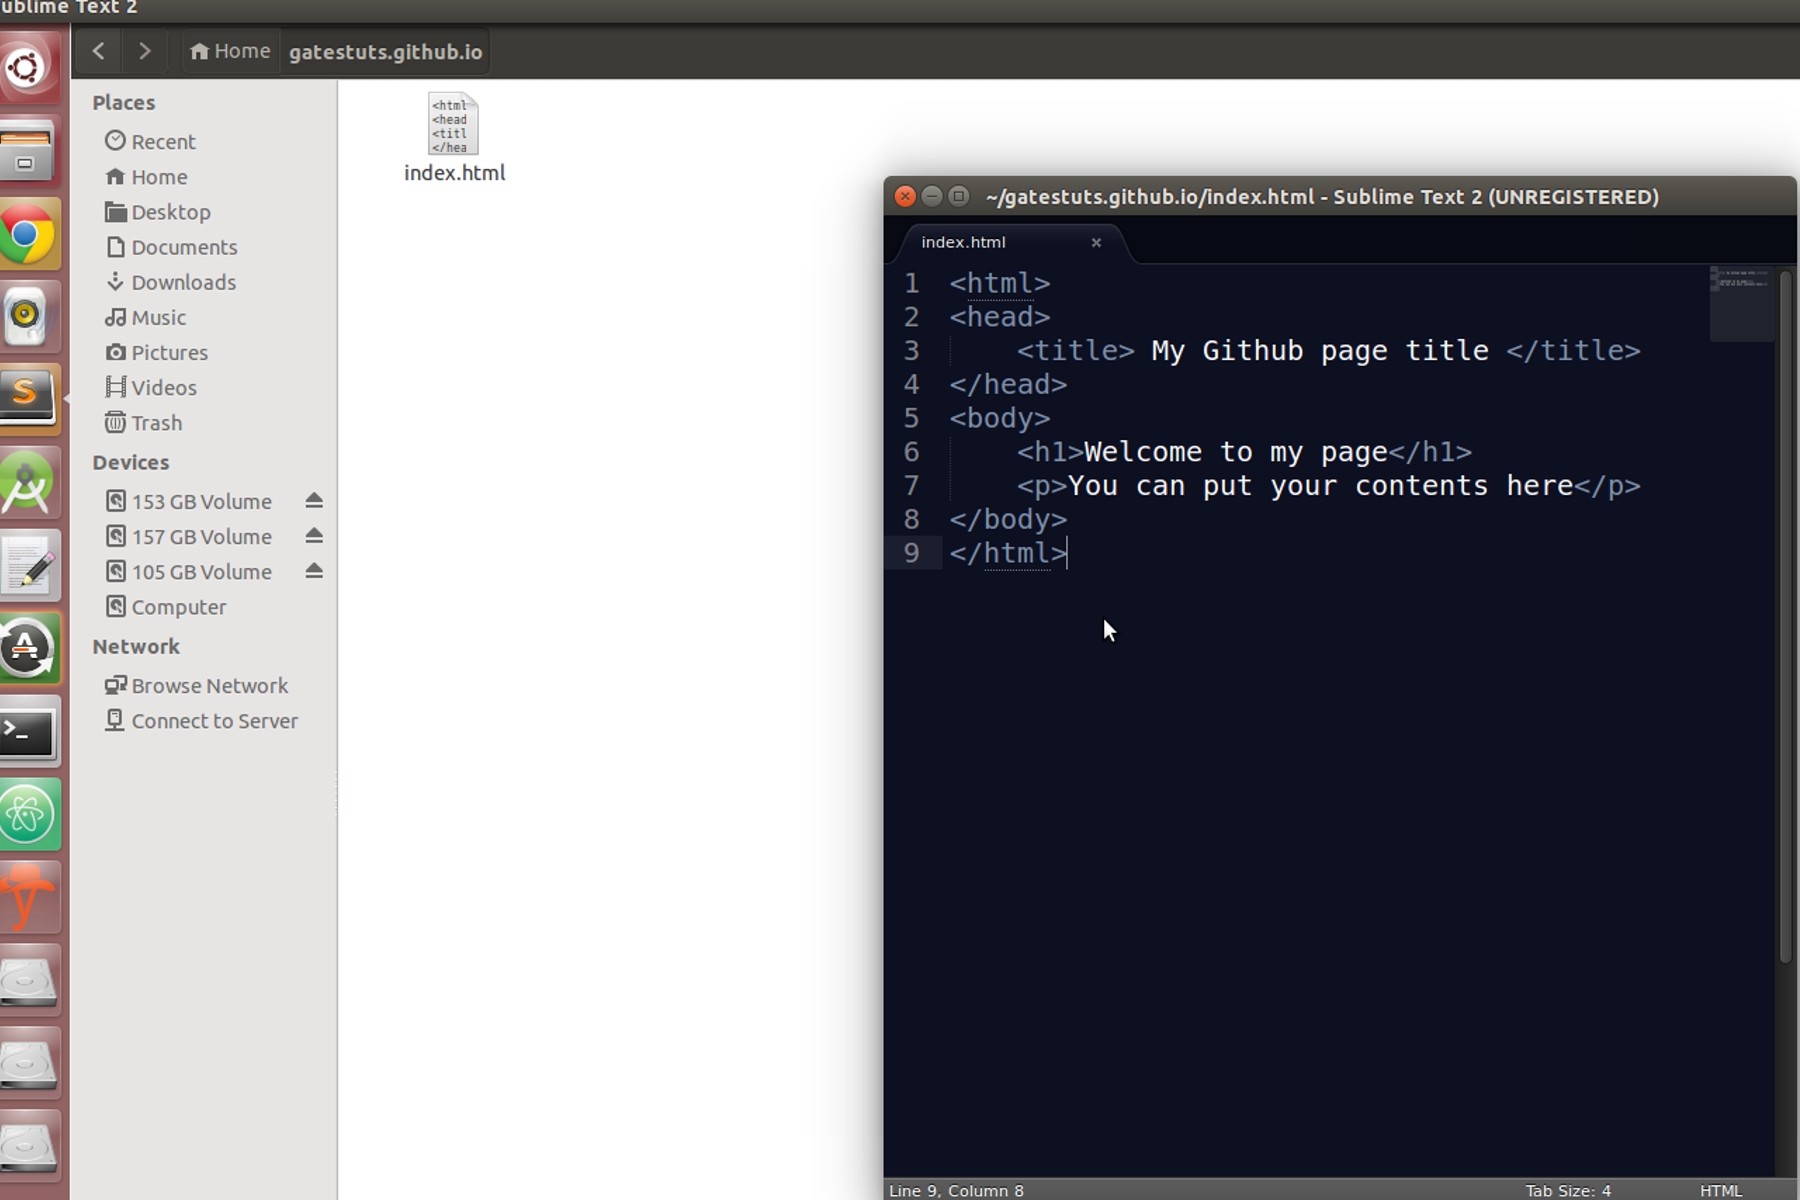
Create a file and put the following code in it. Save it as index.html in your newly created directory.
<html>
<head>
	<title> My Github page title </title>
</head>
<body>
	<h1>Welcome to my page</h1>
	<p>You can put your contents here</p>
</body>
</html>
Step 5
We are going to create a local repo (in your system) using a tool known as ‘Git’. Download and install it. For windows users - Git.
If you are using Ubuntu, open your terminal and type the below command.
sudo apt-get install git
Going further I will be mentioning few commands. If you are windows user, you have to type the commands in your bash shell. Whereas if you are using ubuntu you have to type the commands in your terminal.
If you are using Git for the first time in your system, you have do some configurations. Its simple, you just need to set your identity. You just need to do it once. Type the following commands in your terminal.
$ git config --global user.name "<your name>"
$ git config --global user.email <your mail id>
Note: Your name should be within the quotes whereas your email ID doesn’t need the quotes.
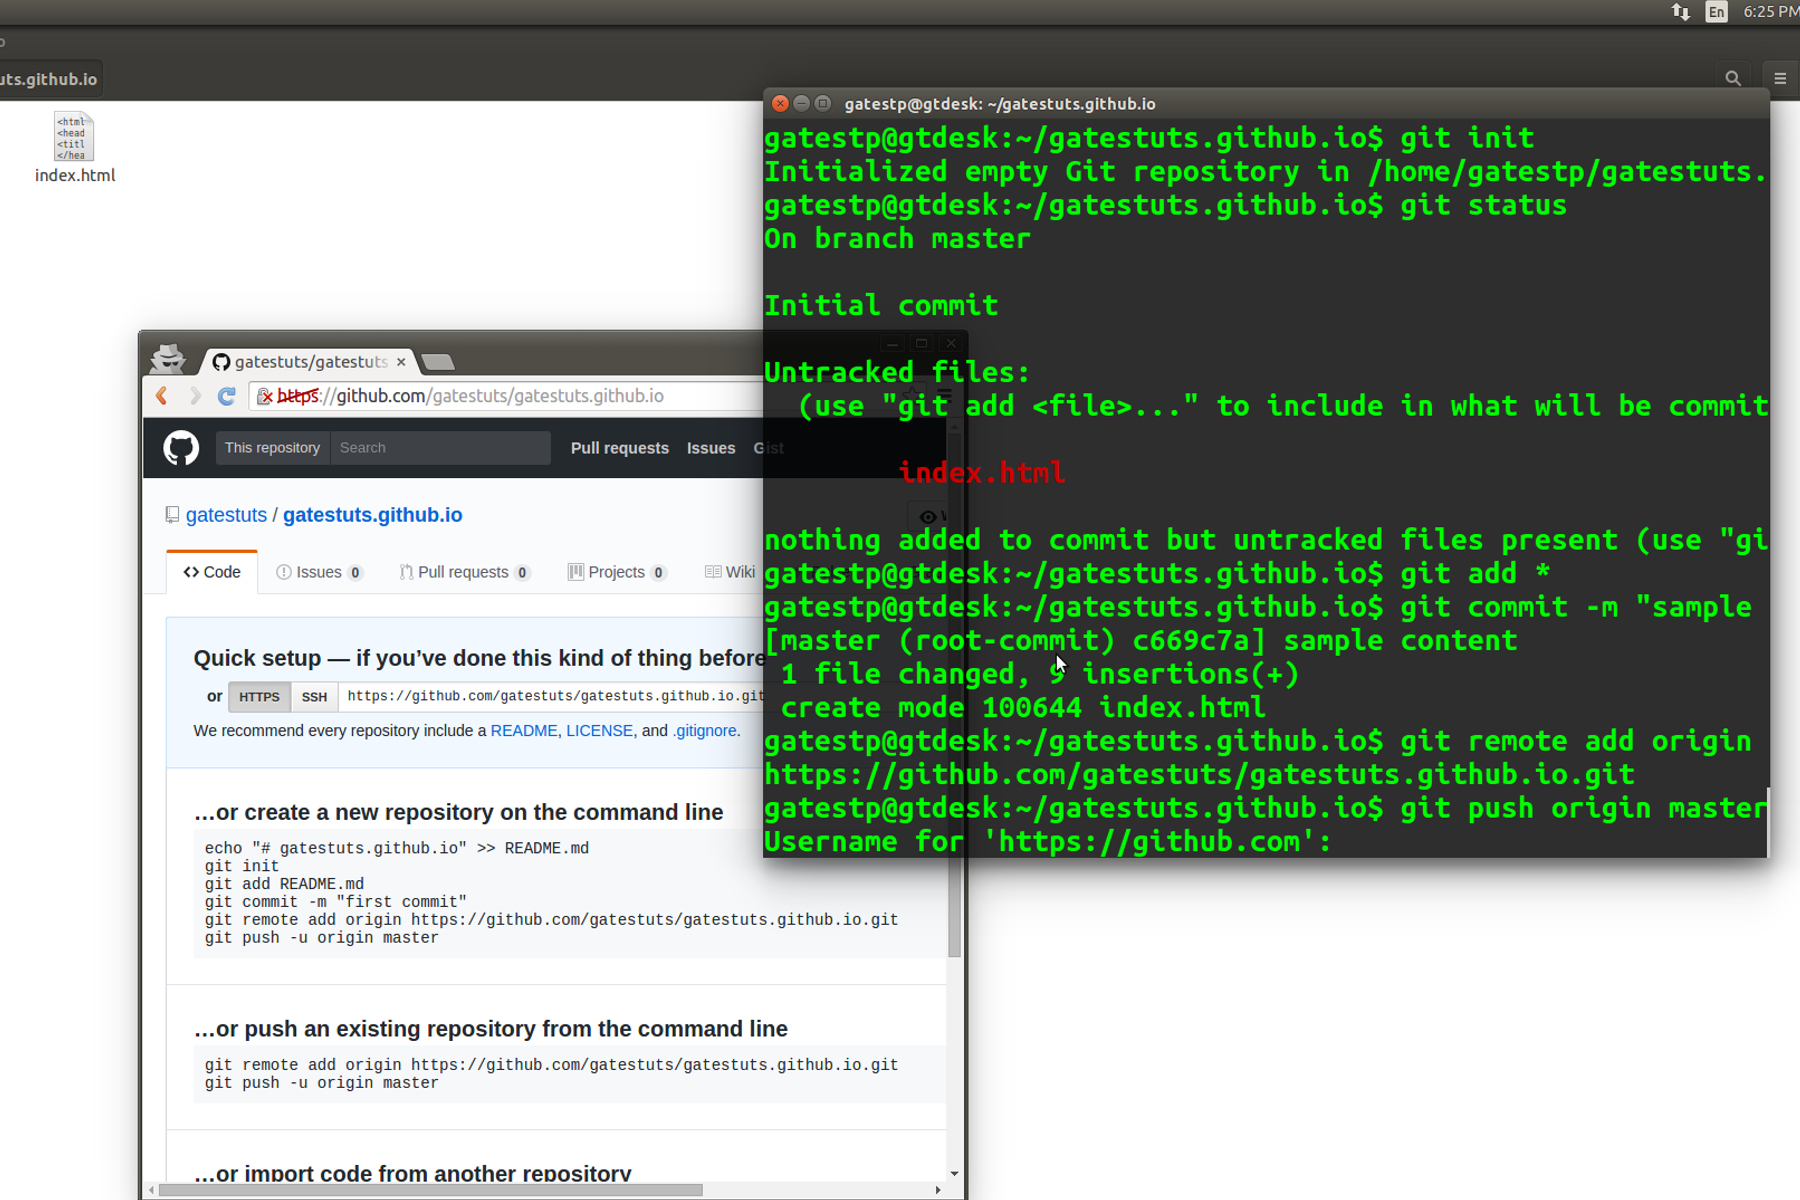
- In your newly created directory initialize a git repository and add index.html to your local repo by using the following commands.
$ git init
$ git add *
$ git commit -m "sample content"
In the last command (git commit) “sample content” is the commit’s comment. You can give some meaningful comments for your commits.
- Add your remote repo’s link (find it in your github repo’s page). Mine is https://github.com/gatestuts/gatestuts.github.io.git
$ git remote add origin <remote repo's link> - Finally, we are going to push our local repo to the remote one. This means the following command will upload our index.html to github server so that everyone will be able to view our page.
$ git push origin master
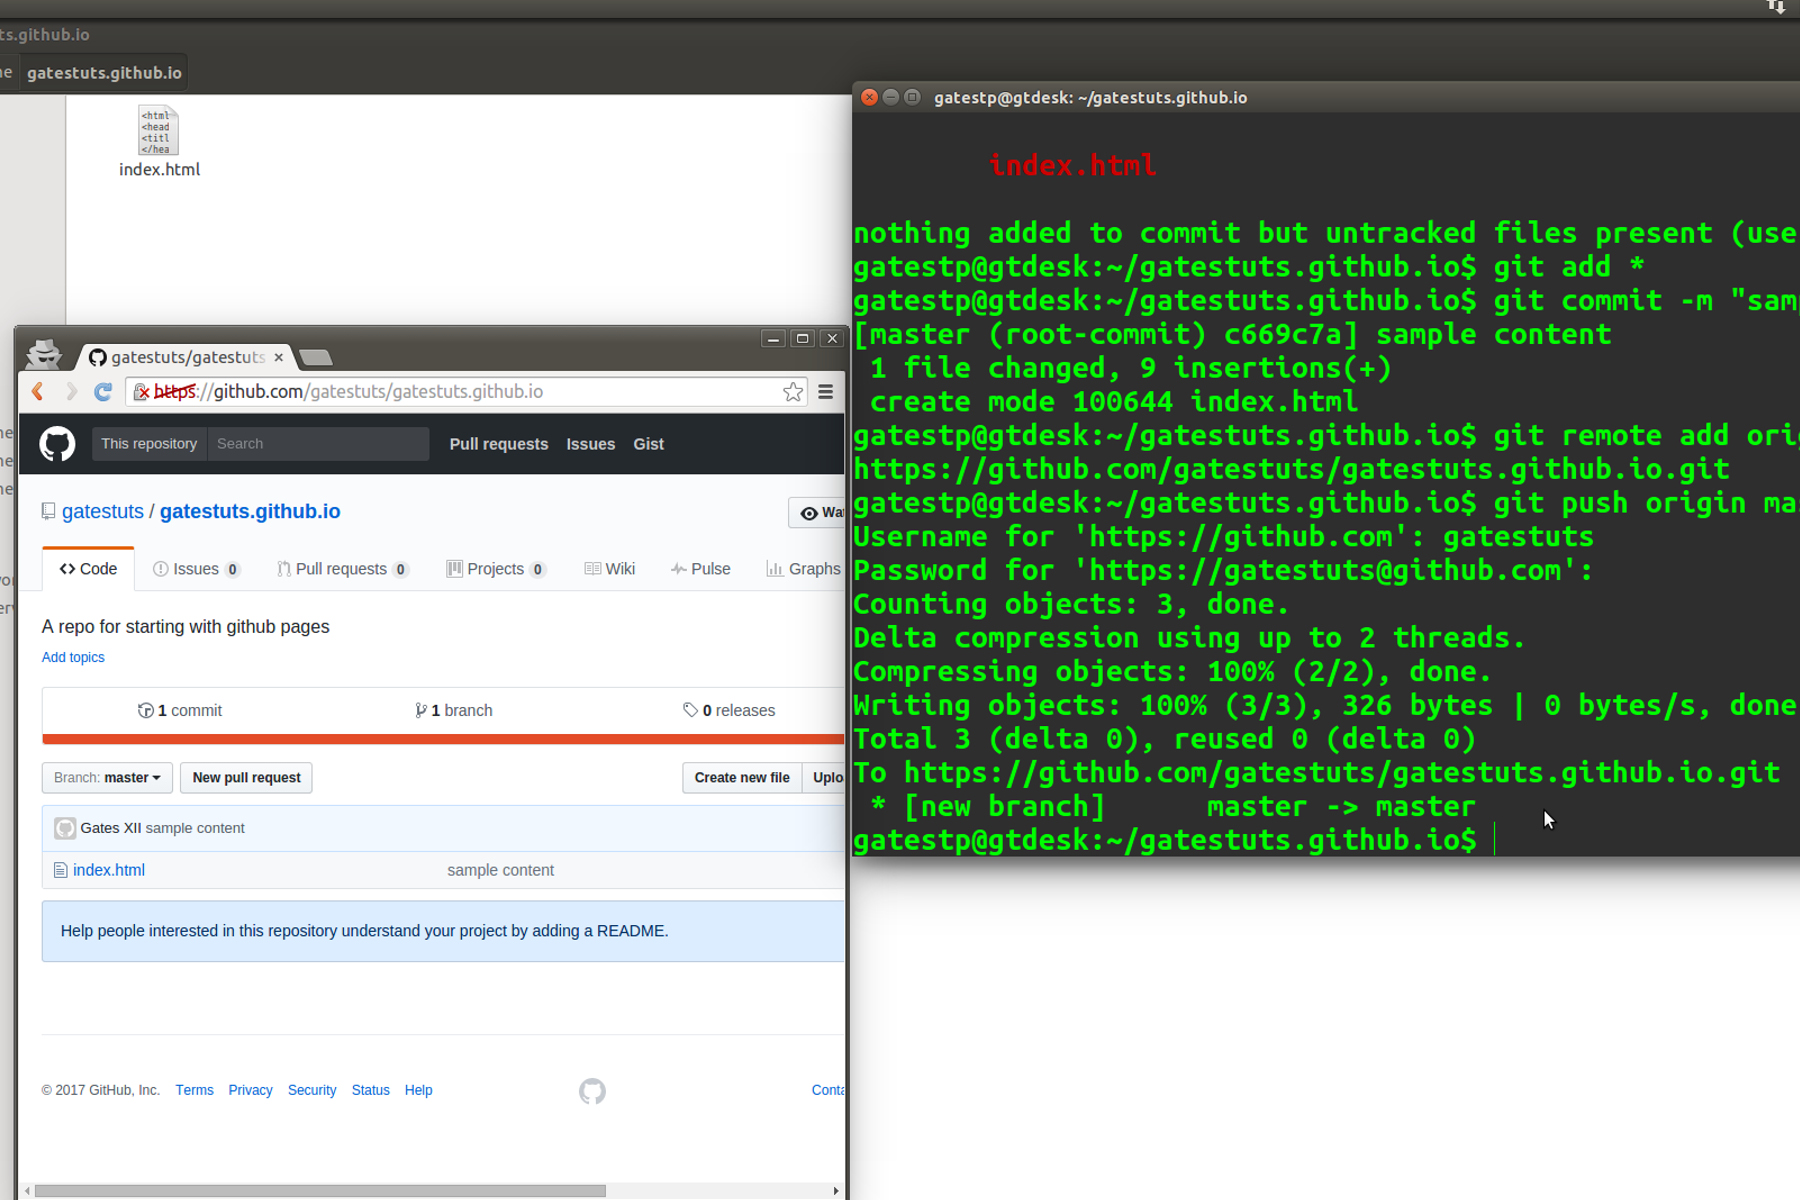
- Go to your github repo and refresh. You will be able to see your index.html file there. Voila! Now you know how to upload files to github repo.
- Open your browser and point to your github pages domain. Your github page domain will be http://username.github.io - same as your repository name. Mine is http://gatestuts.github.io.
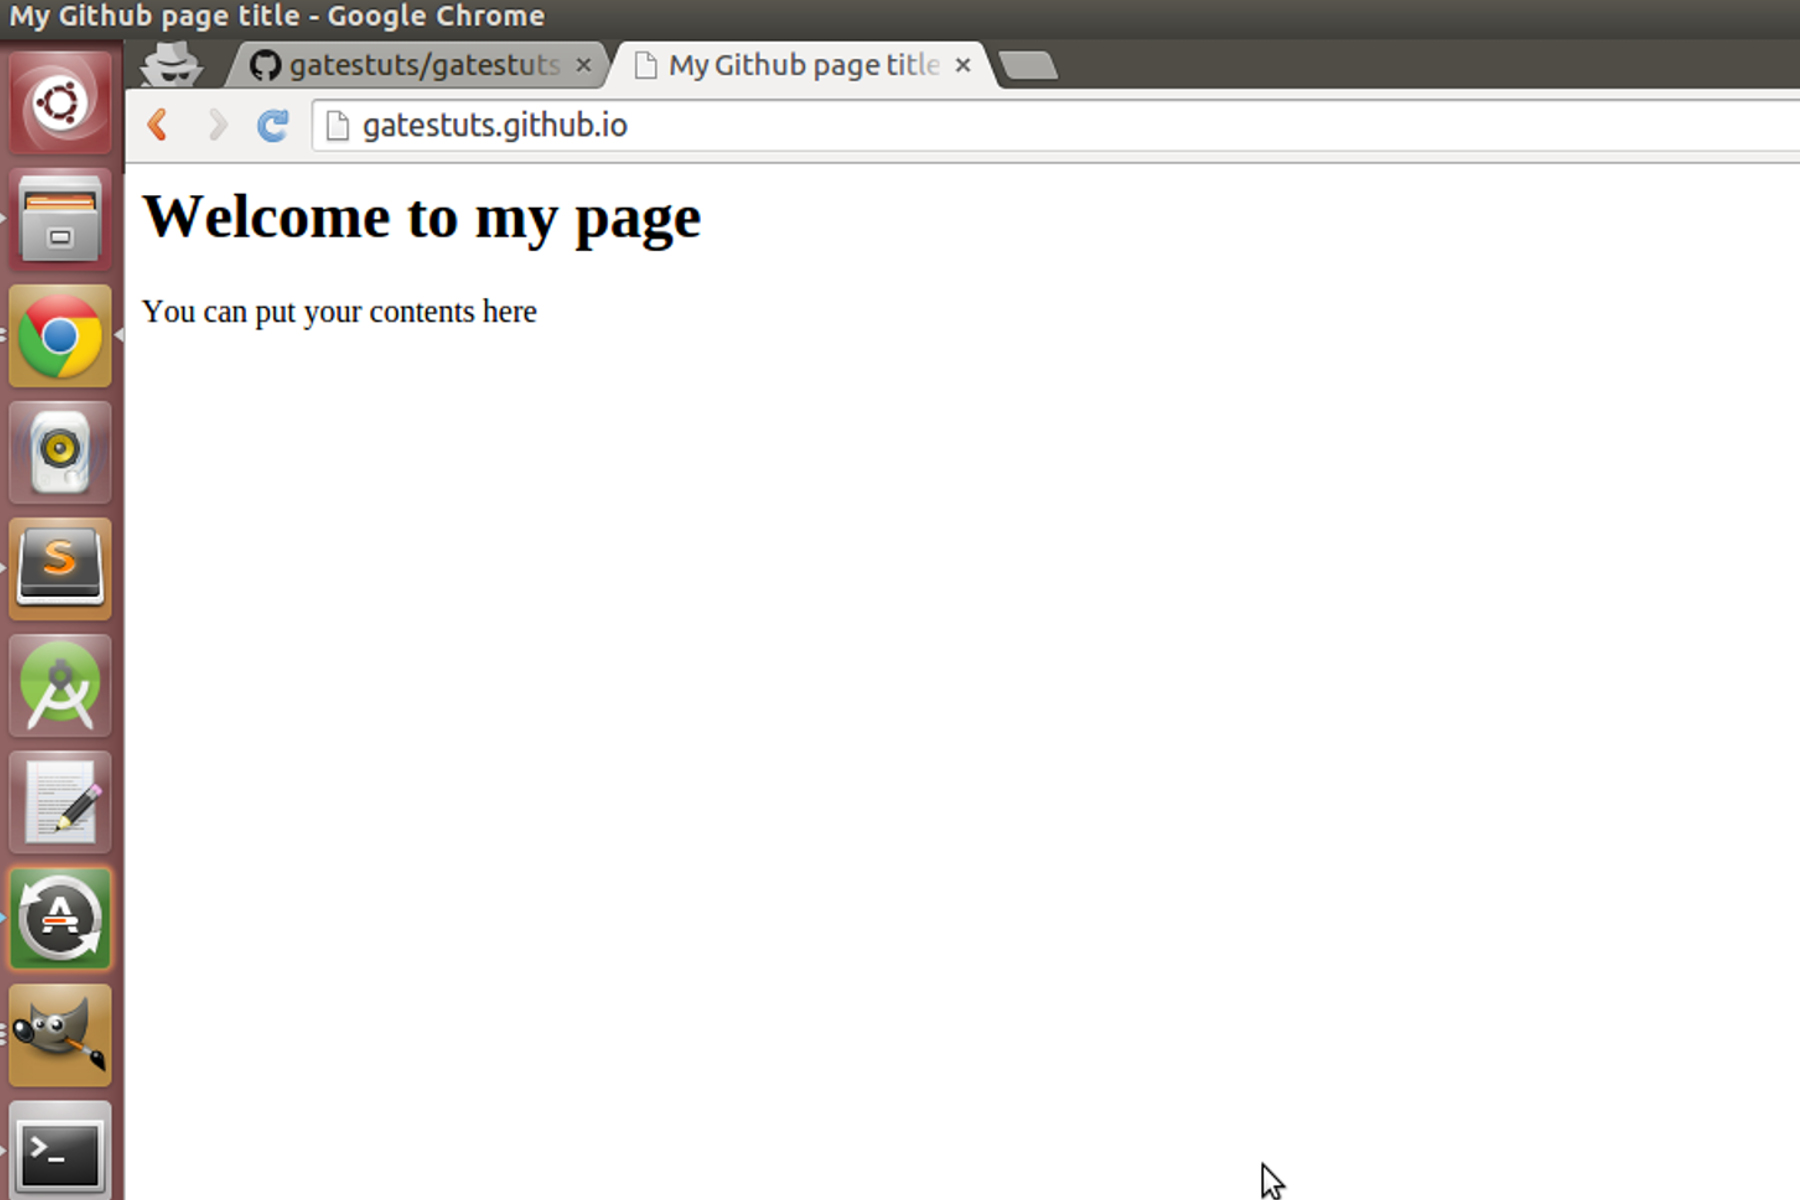
Congratulations! You have your own public page with no ads. Your page is powered by GitHub. You also own a domain!
Hope you enjoyed hosting your website in Github-Pages.